How to Install the Girofeeds Module in PrestaShop
From download to first sync — install and configure Girofeeds in your PrestaShop store in a few minutes.
Get the module on PrestaShop AddonsVideo tutorial coming soon
The step-by-step walkthrough will be embedded here.
Before you start
- An active PrestaShop store.
- An active Girofeeds account.
- Your Girofeeds credentials/API key at hand.
- Administrator permissions in the PrestaShop back office.
Installation steps
Download the module from PrestaShop Addons
Go to the official Girofeeds page on PrestaShop Addons and download the module (.zip file). This is the only official source: avoid downloading it from third parties.
Log in to your PrestaShop back office
Enter your store admin panel (usually yourdomain.com/admin) with a user that has administrator permissions.
Go to Modules › Module Manager
In the side menu, open "Modules" and then "Module Manager". This is where all store modules are installed and managed.
Upload and install the Girofeeds module
Click "Upload a module", drag the downloaded .zip file and wait for PrestaShop to install it. When finished, Girofeeds will appear in your installed modules list.
Open the module configuration
Find Girofeeds in the module manager and click "Configure". Here you will connect your store with your Girofeeds account.
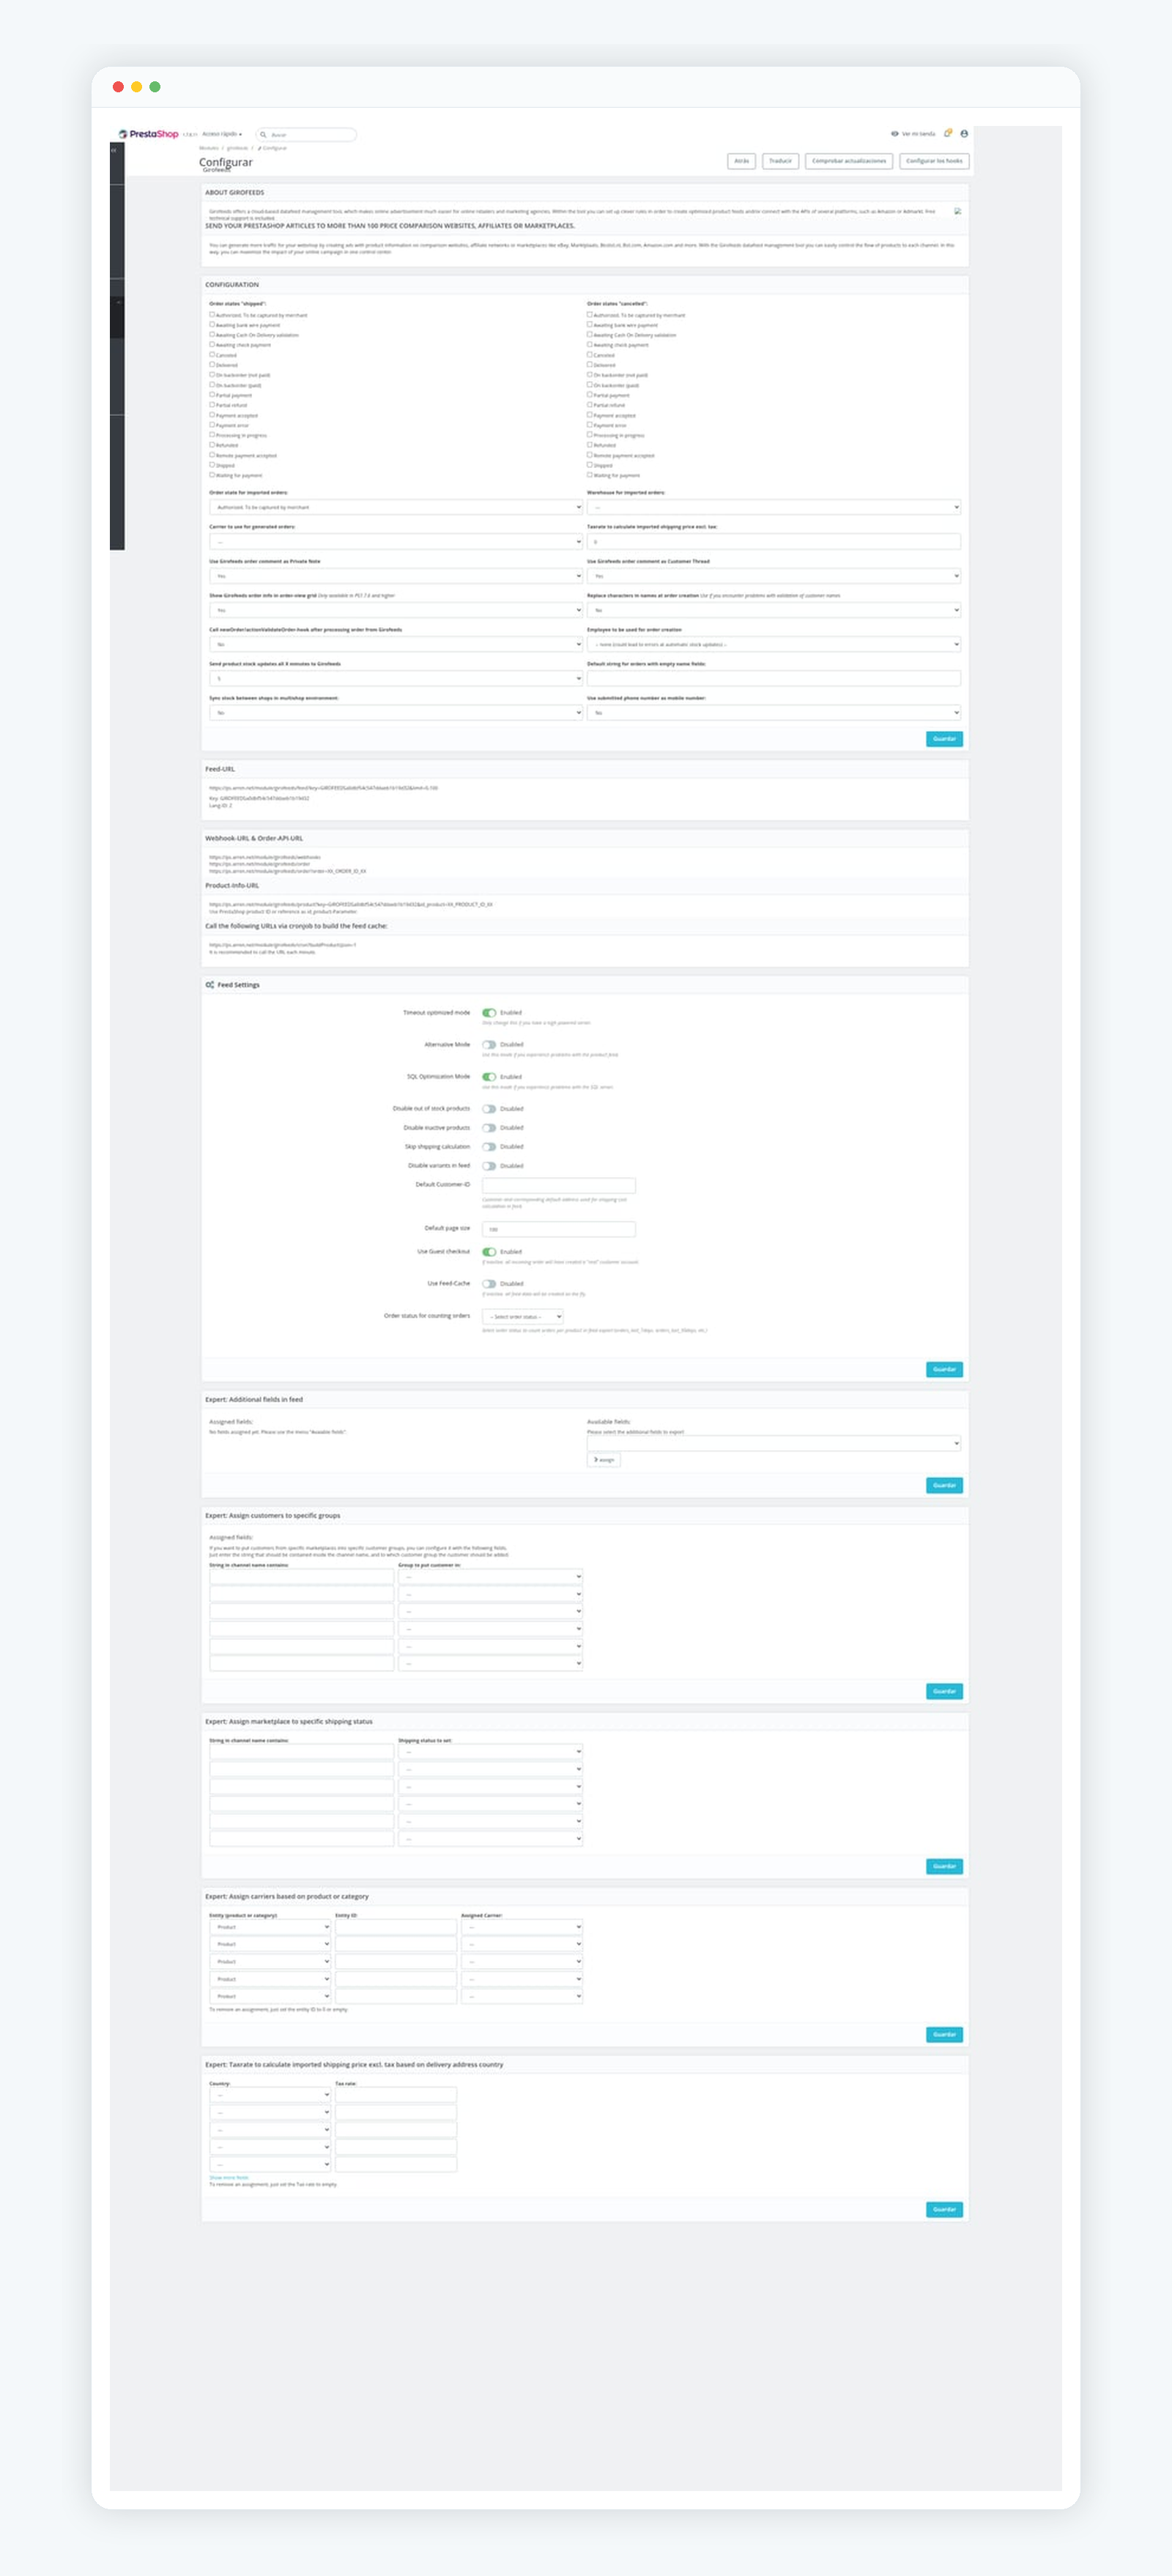
Enter your Girofeeds credentials/API
Copy the API key from your Girofeeds account (or the one provided by the team) and paste it in the corresponding field. Save the changes.
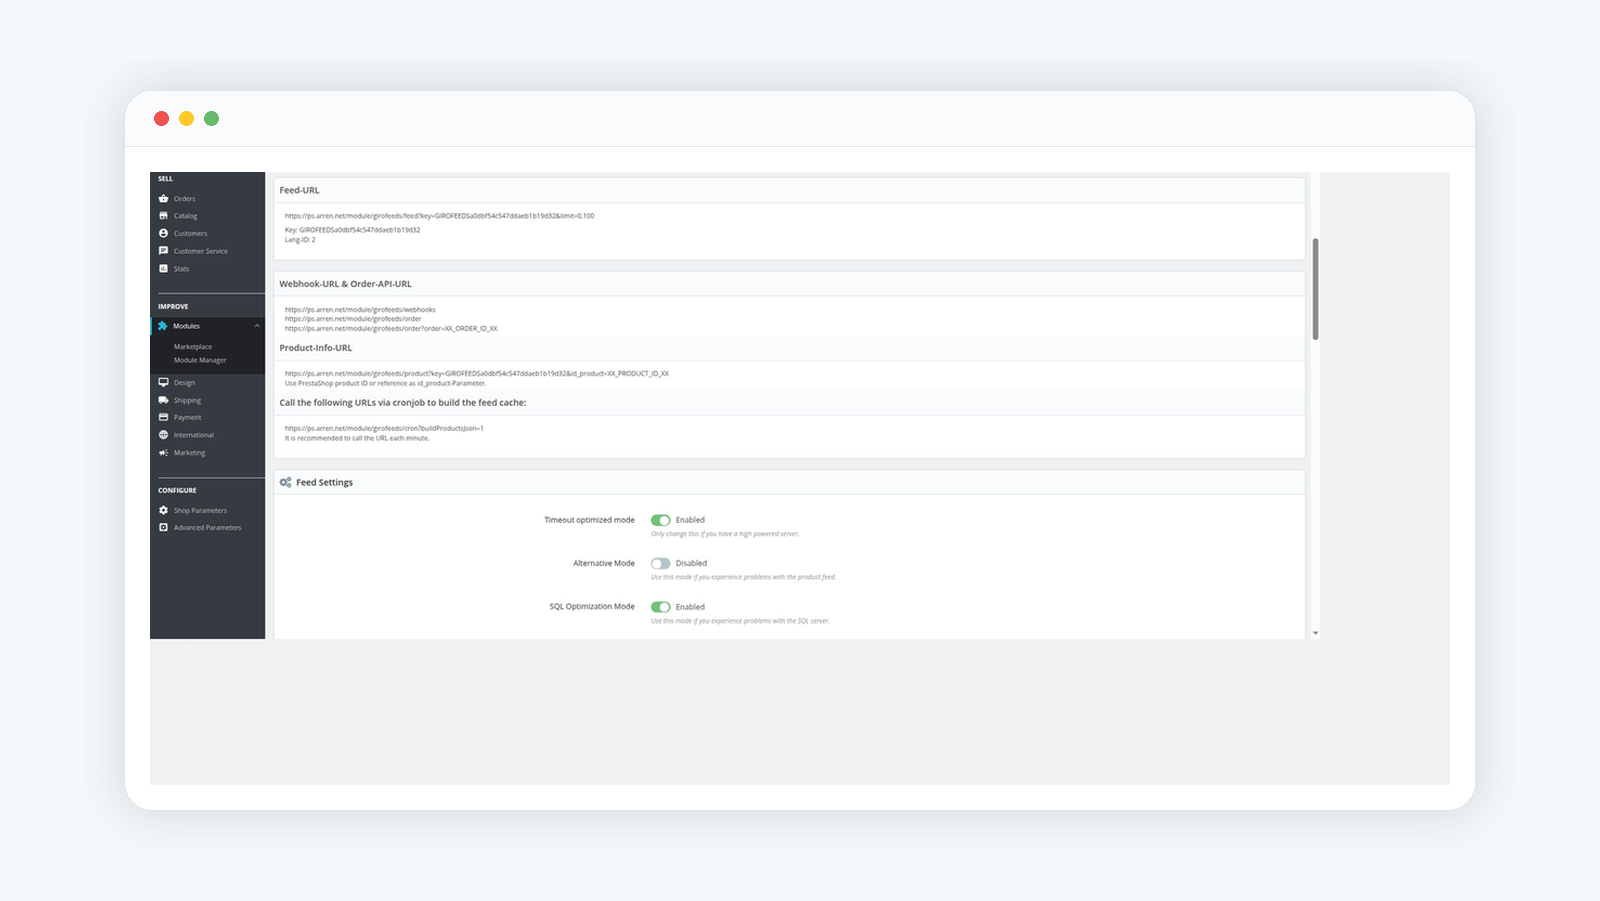
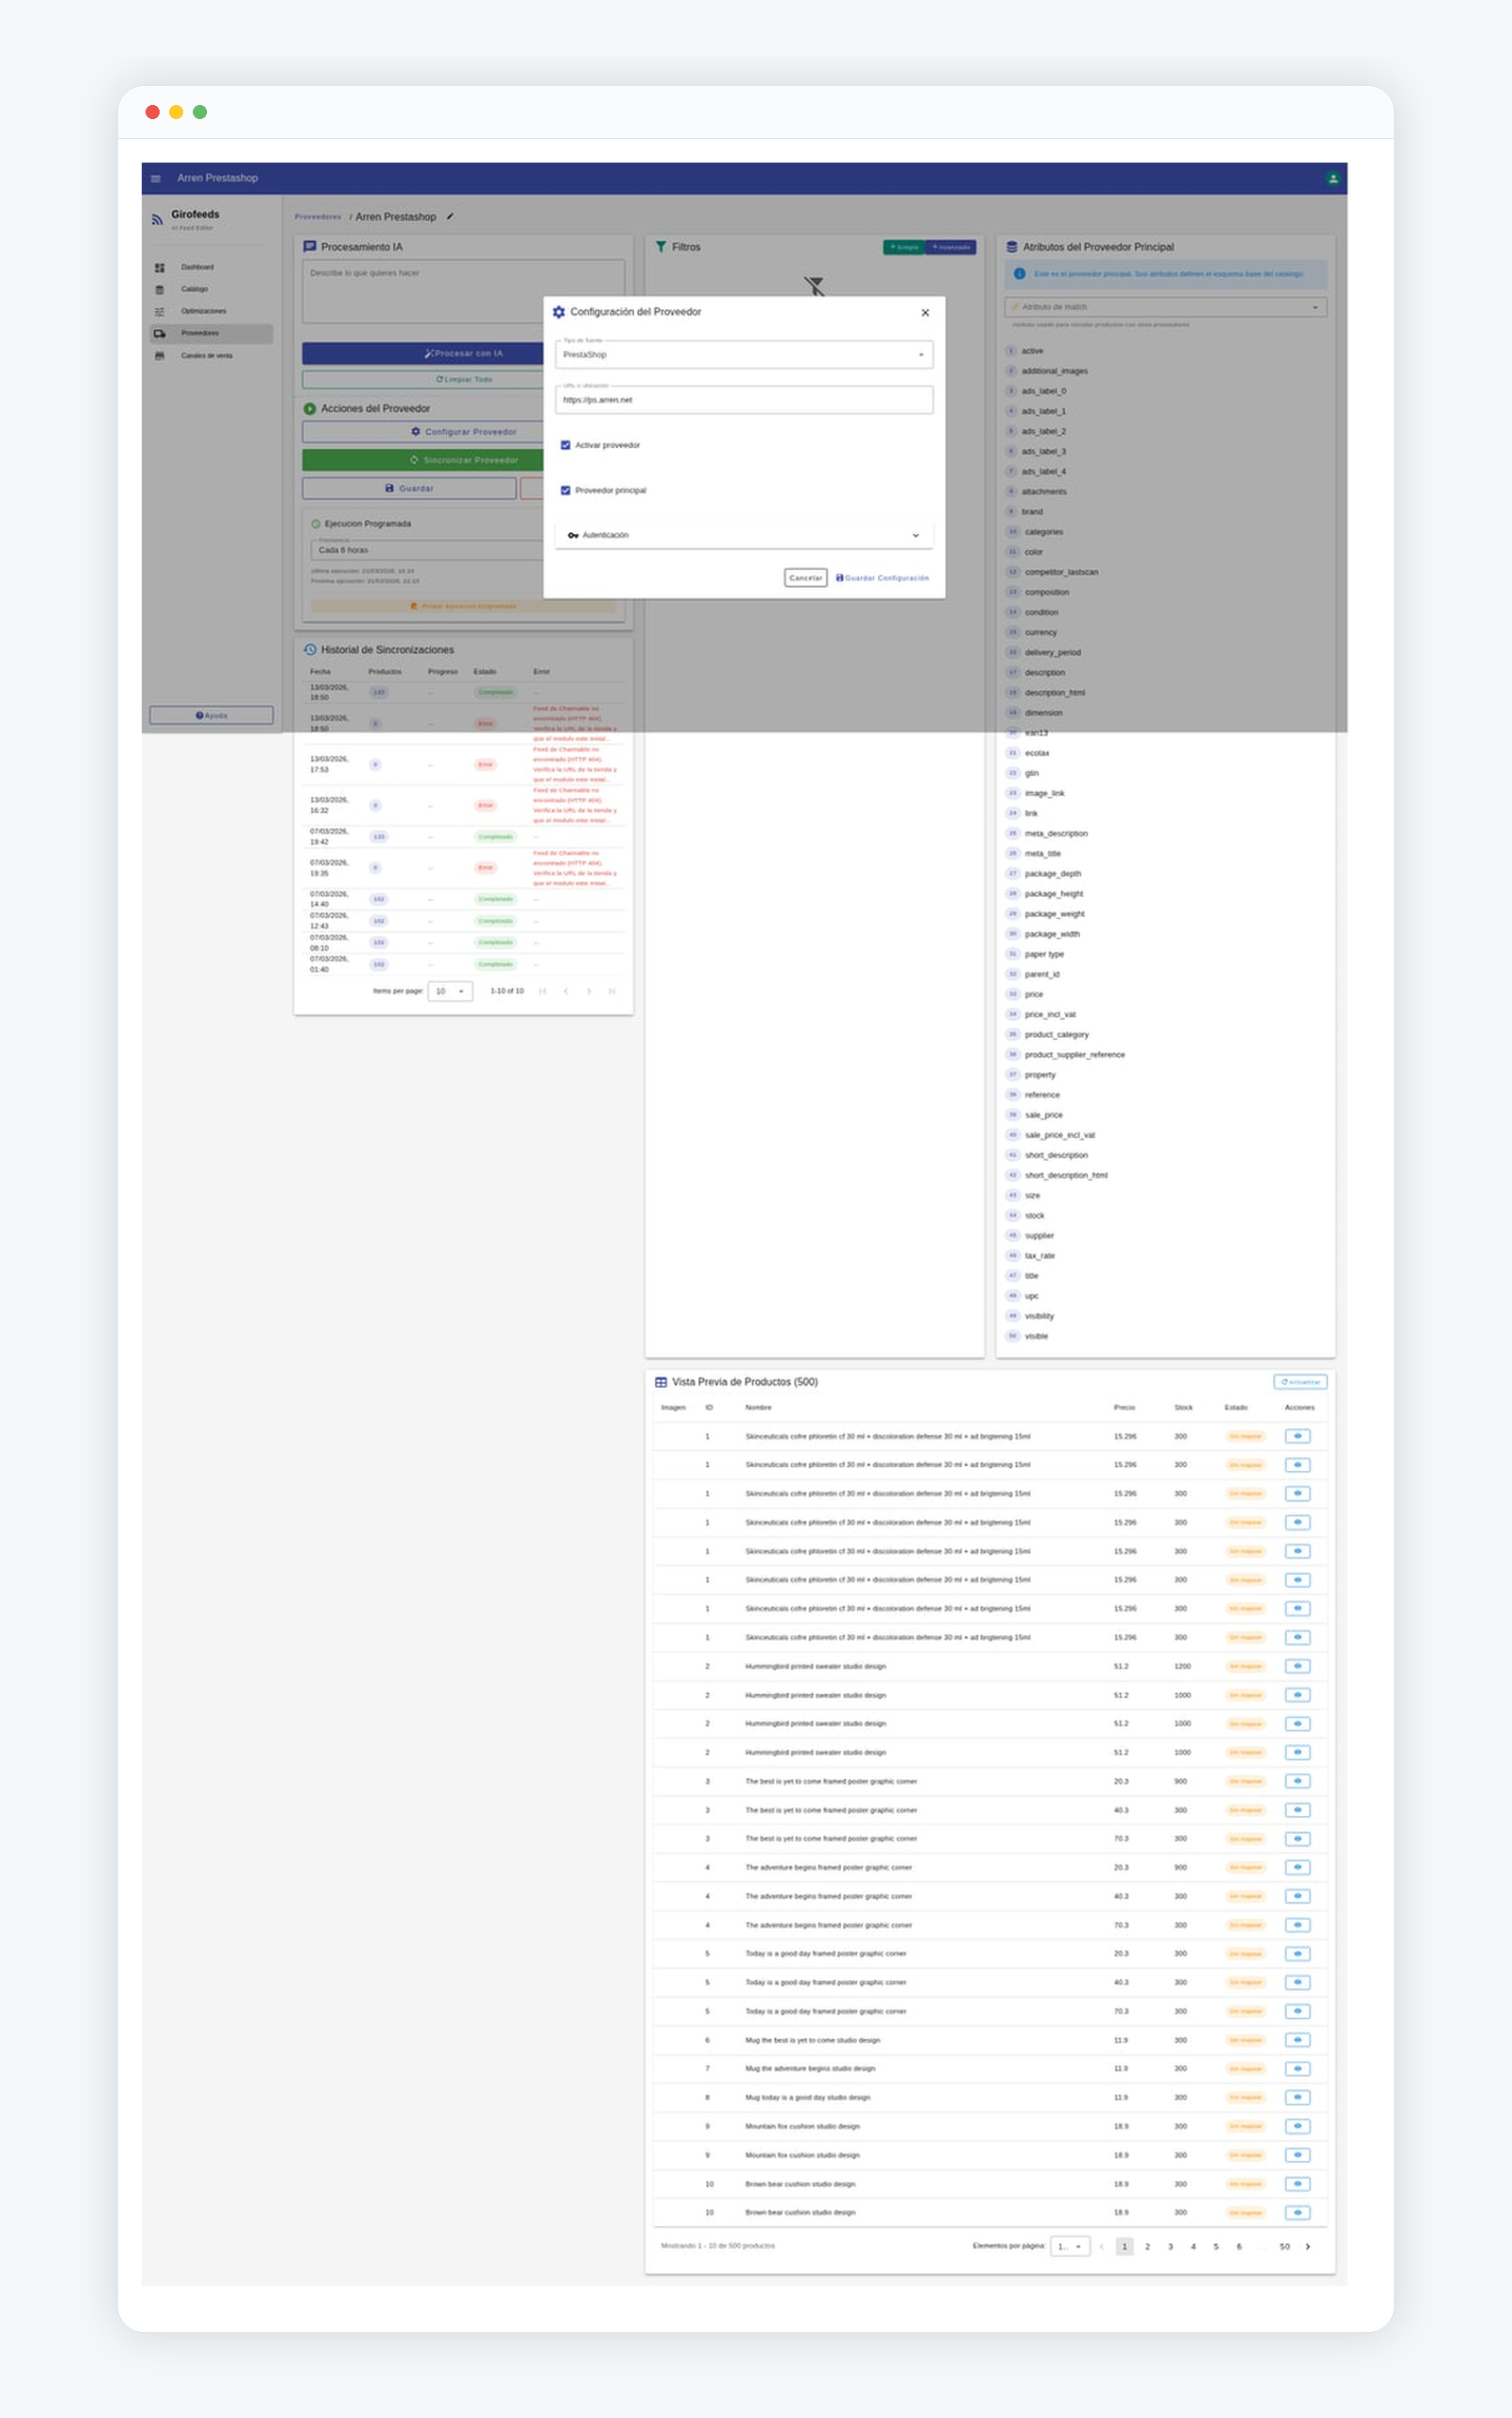
Run the initial catalog sync
Launch the first synchronization so Girofeeds imports your products. Depending on catalog size it may take a few minutes.
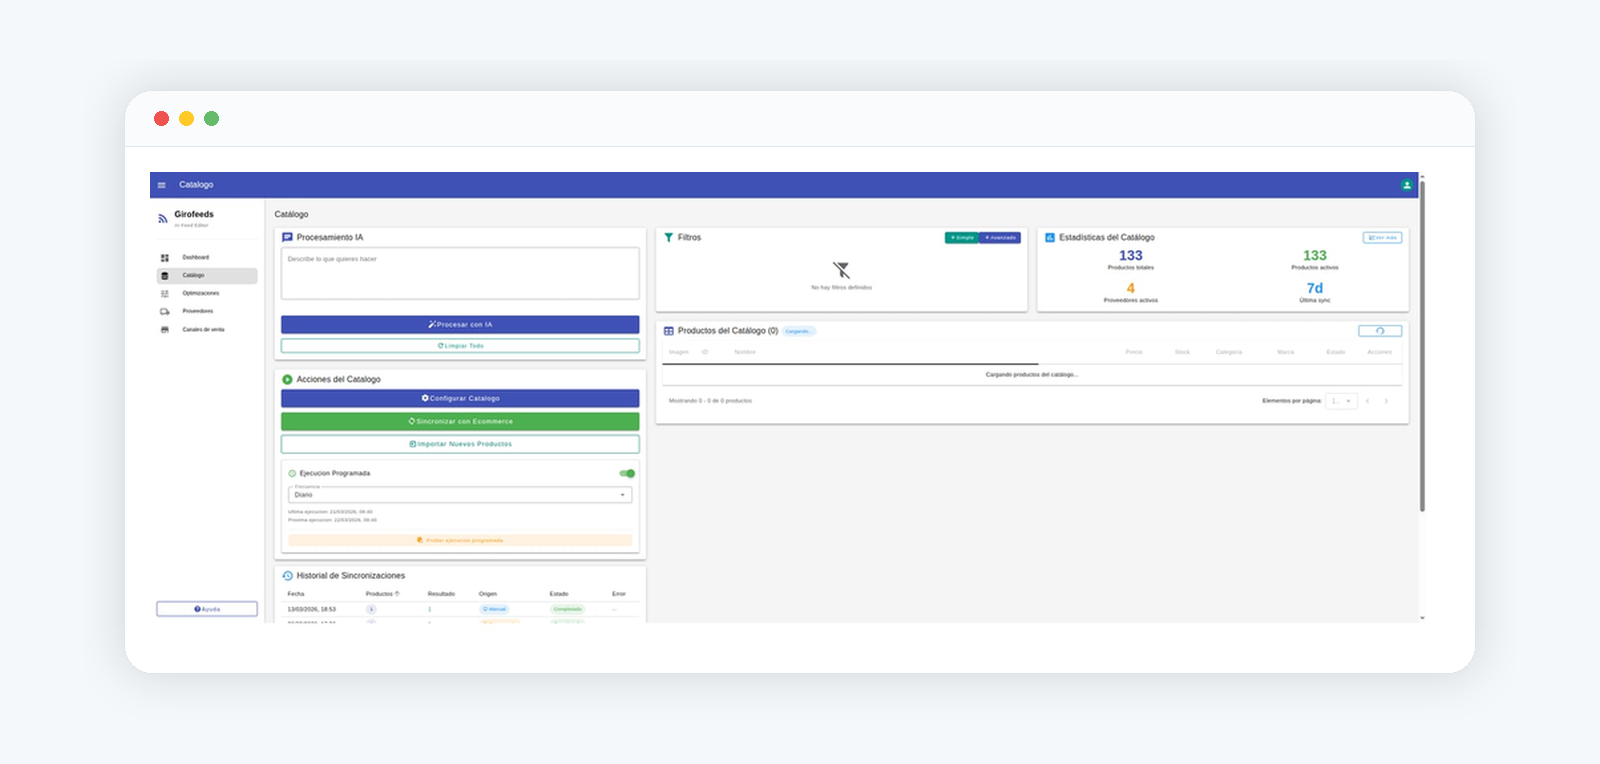
Review your products and start optimizing
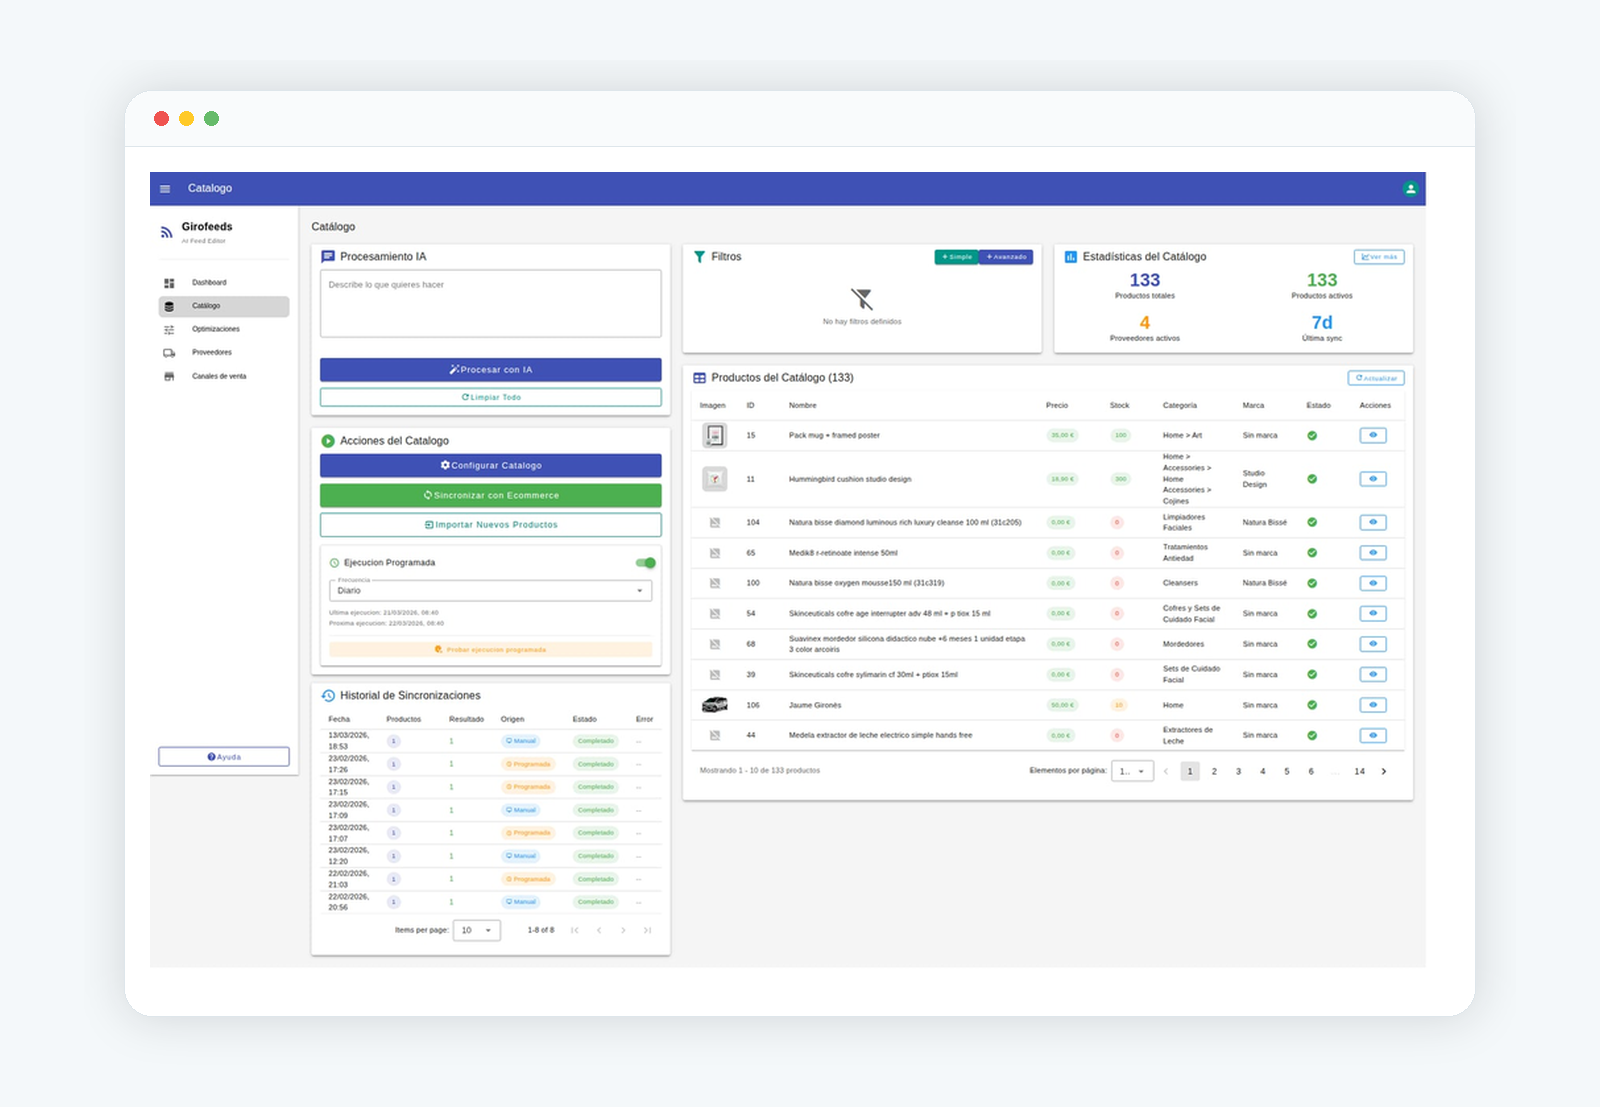
Open the Girofeeds dashboard: you will already see your imported catalog and the first detected data issues, ready to optimize titles, attributes and feeds.
What you can do next
With the module installed and your catalog synced, Girofeeds lets you:
Steps
- 1. Download the module from PrestaShop Addons
- 2. Log in to your PrestaShop back office
- 3. Go to Modules › Module Manager
- 4. Upload and install the Girofeeds module
- 5. Open the module configuration
- 6. Enter your Girofeeds credentials/API
- 7. Run the initial catalog sync
- 8. Review your products and start optimizing